Wednesday, November 24, 2010

3 weeks in 1 (part 2)

i have also taken many photos as showen below next week will have steps on what we have done
straightening a stud with fish plates and wedge

roof gutter

finished building wrap for water and weather protection

how to cut building wrap for an opening

corner moldings used on the bottom corners of an opening

aluband used across the the whole bottom of an opening and up 200mm

aluband used at the top corners of an opening going out 200mm with butterfly 100mm x 50mm

ceiling battons on each side of opening from bottom of lintel to 100mm below floor

vernem strip along the house

vernem strip cut to allow for corners

packers and wedges used to help fit in windows

window temp fitted into opening

blocks set under window at 5 degrees and 50mm spacing

3 weeks in 1

due to assignments and other matters i have not been able to post my blog the last 2 weeks but i have all the videos below enjoy

Thursday, November 4, 2010

the sun is coming out 2


as i said before all these steps in constructing the roof are very important for example the perlins not only keep the trusses up but also keep them straight we do this by pushing against the truss before nailing the perlin to it with the use of marking out and tacing nails allows for the instalation of the perlins far easyer. other aspects of the roofing are showen in these photos  
shows how the gable end truss is smaller for the outrigger
hw to install the lowest perlin on the edge of truss
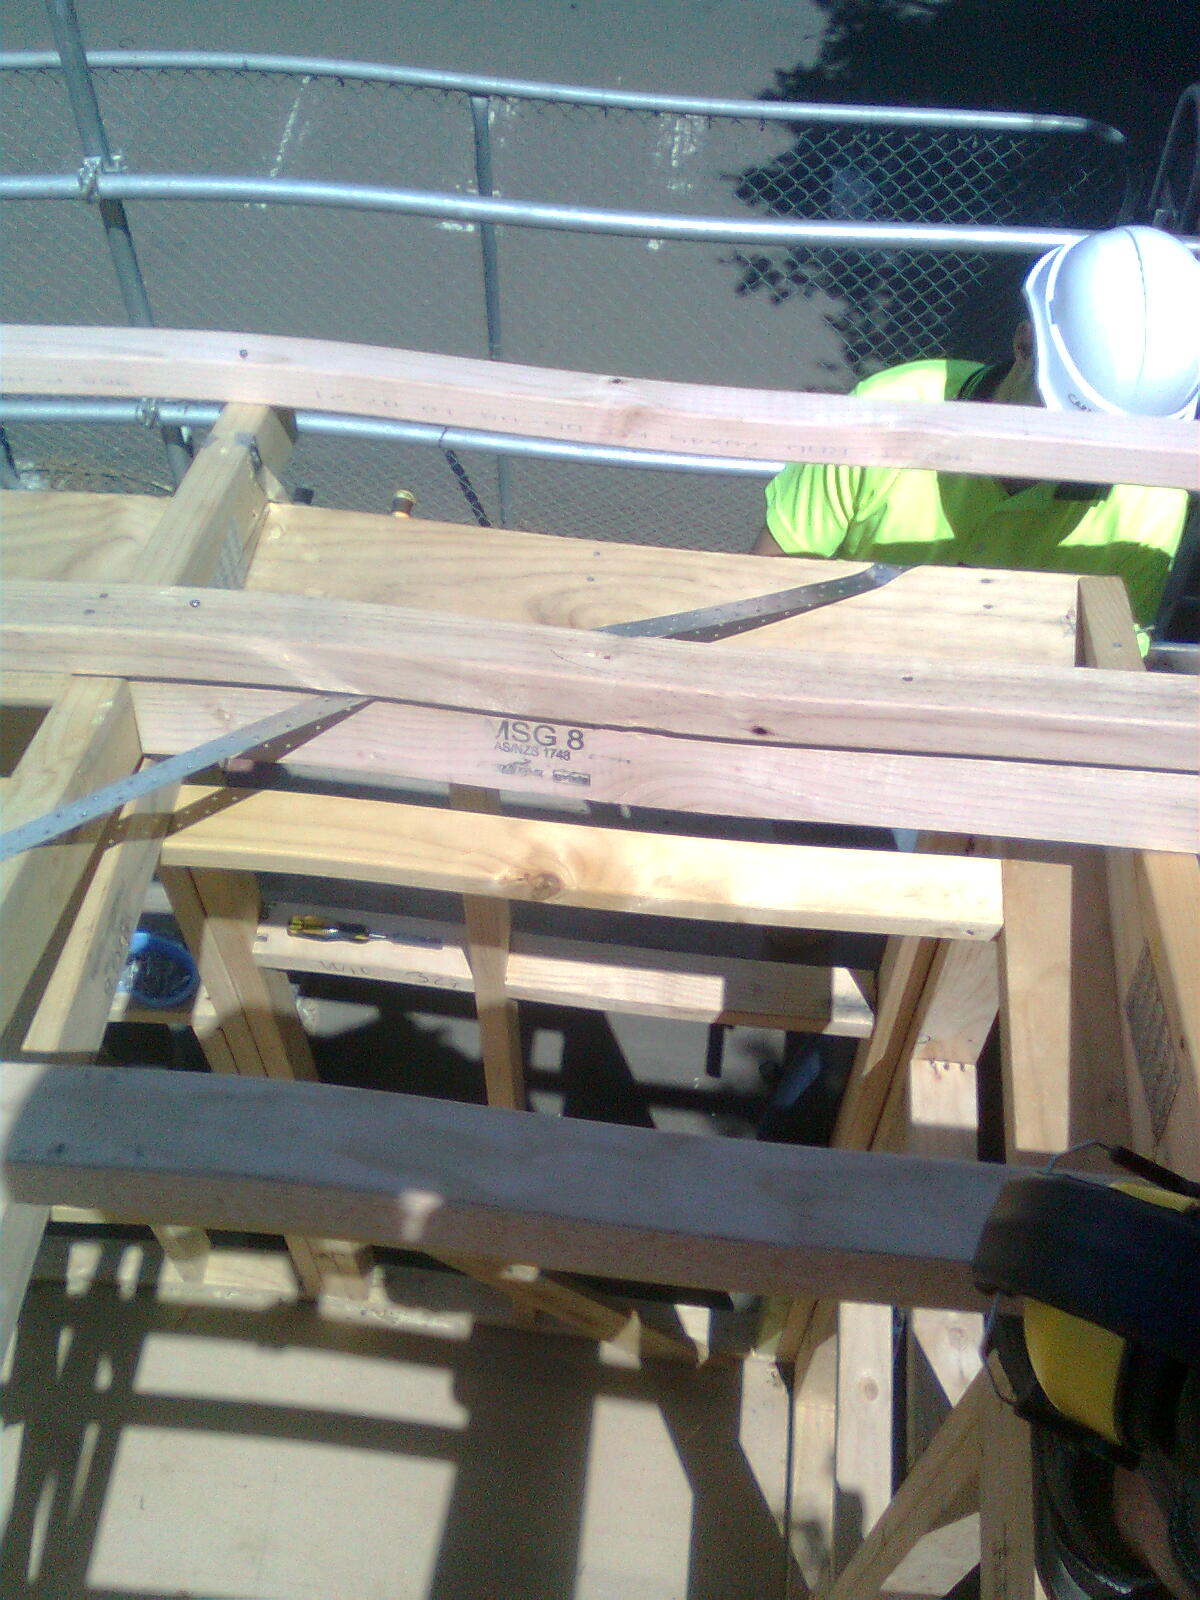
strap bracing crossing over truss and under perlin
nail tacked in for easy instalation of perlins
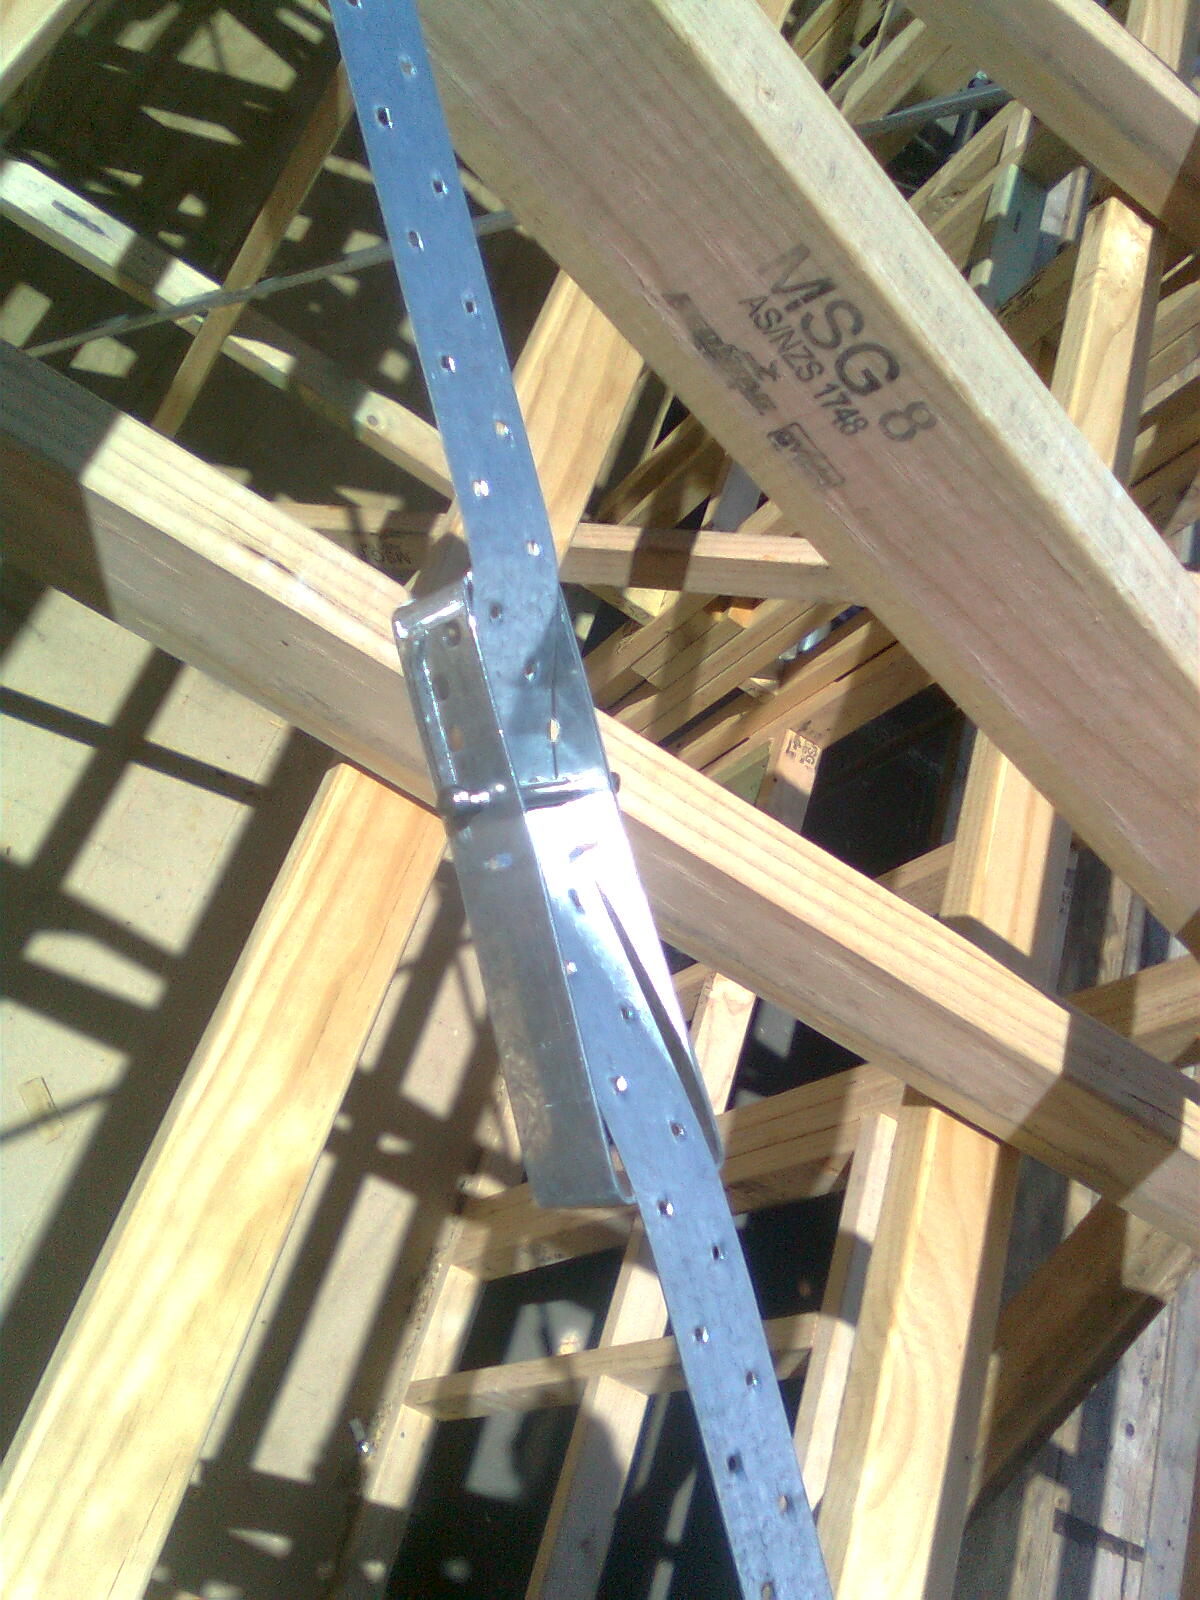
tencioner
trusses at the end of the week
nog installed to help hold strap bracing and later hold outrigger
installing nogs inbetween trusses
side view of house

clamp used to keep truss down to double top plate for nailing
cyclone strap to hold down the ends of the trusses
the perlins on the edges of the houses are diffrent because they cannot cross over the edge of the truss so we prevent this by using a straight edge (rule, square etc) and place it across the end of the truss as showen in the picture above and then nail the perlin in.
this week we also installed strap bracing at the back end of the house this helps keep the roofs strength and together we install them by running them diaganaly across a saction of the roof above the truss and below the perlin and then chisel out a grove for the ends and with the use of the correct product nails nail them in then to increse the tencile strength we use the tensioner as showen above

the sun is coming out

this week we worked mainly on the trusses and installing perlins, braces and straightening the trusses as showen in the videos below all of these steps are important in constructing a strong and straight roof and i will explain further in my next post

Wednesday, October 27, 2010

the roof work begins

also this week we finished off any frame work straps, butt joints etc
the straps are used to add resistance against wind uplift and help keep the roof to the frame and frame to the sub floor product nails are used and have 6 on top and 6 on the bottom of the strap
strap connecting frame to sub floor
also the roof trusses were delivered as showen in the videos below note: they are extremely long

the scaffolding is over

 
as the title says we finished scaffolding this week by placing put logs, planks, hand rails and stairs as showen in the picture and video below also not showen is we also had to cut pipes to make walking room between houses that is done with a tool that i do not know the name of but it clamps down on the pipe then is rolled around and cuts the pipe


scaffolding on side of house


Wednesday, October 20, 2010

the end of this week

the pictures below show how far we got at the and of the week with the scaffolding
an example of angle bracing

the back of the house

the side of the house our group did

mobile scaffolding inside the house
the last photo helps show the diffrence between mobile and fixed scaffolding while fixed is safer mobile is more conveniount and easyer to put together and take appart. the video is just a quick sum up of what i learned about scaffolding and what i may have missed in my last post.