Tuesday, September 27, 2011
structures learning experience
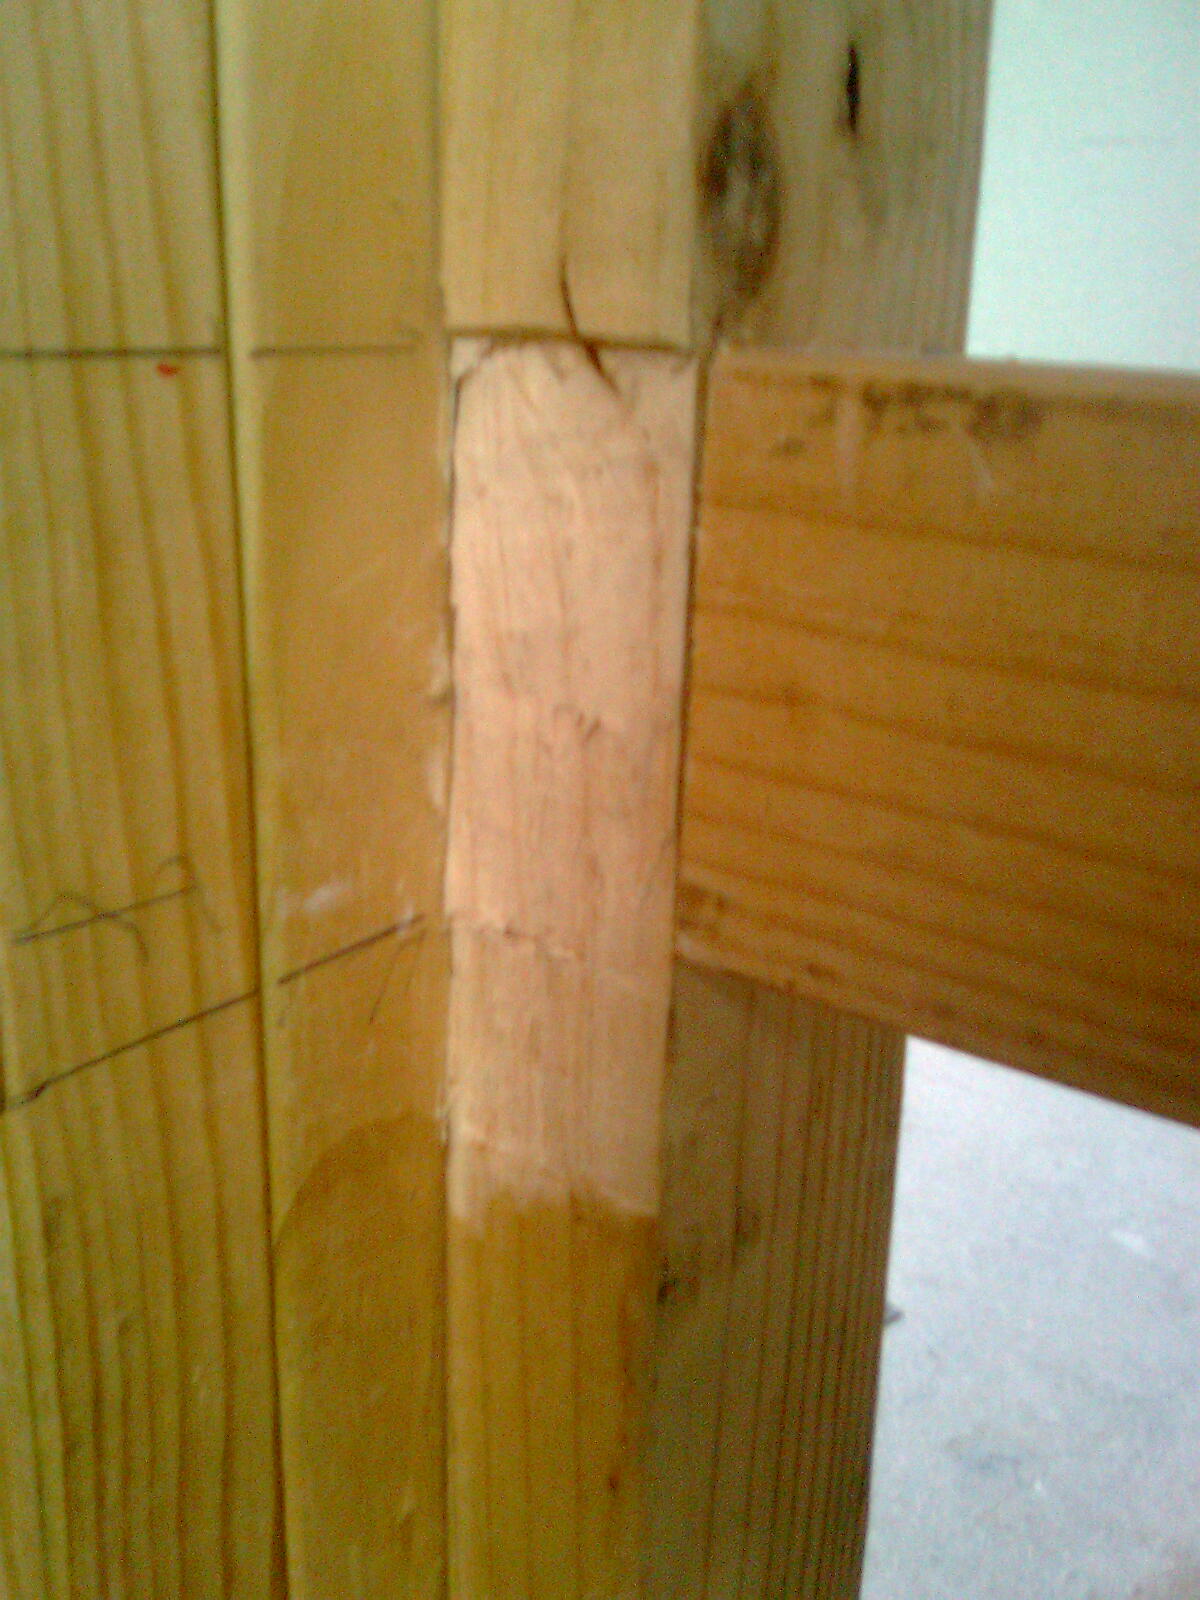
i have learnt quite a bit from building the unitec house such as in the slab work for the unitec model house as we worked on a parking lot there was no need for slabs, starters or concrete blocks. but for this house there is ant there are many steps involved and a few inspections. the concrete itself must be vibrated to removed air bubbles and coverd till dry to insure no extra moisture gets in. under that are cages made of steel rods strengthing the structure and are surrounded by cement blocks this is an interesting system and at the end of this i hope to know a lot more on the subject
structures research
when researching the calculations for the hip roof as showen in the earlyer post i learnt that actualy seeing the construct as u calculate is easyer for me as i learn more visualy than just having numbers and calculation sheets. by seeing where all the peices go as i calculate them i was able to make sure they will work and how all the peices fit together. in researching all the diffrent fixings and types of roofs i learnts the uses of each as well as the importance of safty on the worksite esp at heights. what i have learnt form this will help greatly towards my assignmet as well as down the line in carpentry.
structures work experience

Saturday, May 14, 2011
scaffolds gone
this week we dismantled the scaffolding but before that we installed the scribers for all openings they are finishing elements to make the openings its is every important to get right so there are no gaps and it all fits perfectly pictures are below to explain further.
first the timber is tackd up against the window/door and then it is measured how far it portrudes from the window/door edge this shows us what block to use to mark out the side of the timber where to cut. once that is done we cut out the marking as perfect as we can as well as the top to fit under the flashing and we check how it fits and cut accordingly to get rid of any gaps. once done the bottom is cut at a 45 degree angle 10mm down from the bottom of window/door and is nailed in at every 2nd weatherboard in line with nails.
next week will be the finishing lines
 |
| timber tacked in for marking |
 |
| how scriber should fit |
 |
| 45 degree cut at bottom |
 |
| side view of scriber |
 |
| finished scriber |
Friday, May 13, 2011
quick pictures
 |
| bath penitrations |
 |
| close up of penitration |
 |
| close up of penitration |
 |
| installed shower |
 |
| installed vanity with tools on top so on one trips on them |
Friday, May 6, 2011
bathtime longitivity
this week got the bath installed which has quite a few steps you dont have to do this in its exzact order
4) next the tubs cradle is made this makes the tub level and sturdy so it does not rock while you are in it. it runs under the tubs edge like in the drawing below and runs along the whole length of the bath on the other side is a peice of timber paralel that with the cradle holds up the bath also showen
6) another strip of aluband runs along with the strip and conects with the wall makin a seal that does not let water past the picture below will help show what i mean the end result is in the next picture
and that is how the bath was installed.
this week got the bath installed which has quite a few steps you dont have to do this in its exzact order
1) is to actualy get the tub and see if it fits into the space you have provided for it ours fit perfectly and required no noging except for the aluband (a later step)
 |
| bath tub |
2) mark out the waste hole and with the circular saw plunge cut out a hole as done with the shower bace earlyer make sure to do this before installing the bath or your gona be in for a lot of torment in the future
 |
| cut out waste hole for bathtub |
3) mark out where nogs will be placed around where the bath will be placed this allows for the aluband seal to be placed to provent access water geting to framework the studs are then chizeld out to be in line with the nogs for a flush surface
 |
| example of nog placement |
 |
| chizeled out stud |
4) next the tubs cradle is made this makes the tub level and sturdy so it does not rock while you are in it. it runs under the tubs edge like in the drawing below and runs along the whole length of the bath on the other side is a peice of timber paralel that with the cradle holds up the bath also showen
 |
| diagram of how cradle fits under bath |
 |
| bath placed in on top of cradle |
5) the silicon is glued onto the floor where the baths feet will be placed and a length of aluban is run along the edge of the bath that touches the wall and the bath is placed in

 |
| aluban run along bath edge |
6) another strip of aluband runs along with the strip and conects with the wall makin a seal that does not let water past the picture below will help show what i mean the end result is in the next picture
 |
| showing of how seal works |
 |
| bath fully installed with aluband seal on nogs |
Wednesday, April 20, 2011
shower bases
just before the holidays i was able to install the shower base in the bathroom all that needs to be done in preperation is to cut out the waste hole this is done with the circular saw to make a square as showen below next is that the glue is applyed to the bace of the shower bace at 50mm spacings then pushed into corner then silicon is applyed at the joint to the base and wall to set in a seal then weights r placed on top to make sure the glue is at full strength.
 |
| waste hole cut with circular saw |
 |
| glue on base of shower base |
 |
| silicon on shower base |
 |
| weights |
Subscribe to:
Posts (Atom)